DIY Distressed Wood Photography Board
 I’m soooooo excited to finally be able to share this post with you.
I’ve been gawking over at FoodGawker (because, that’s what you’re supposed to do, right?) and have been drooling over all their wonderful photography. I just love the dark distressed wood look and I have been searching like a madwoman for my own little distressed wood table since YUM launched.
I’ve also been keeping my eyes open for textiles and pretty dishes. In the beginning I went overboard at the thrift stores only to find out that regular size bowls and plates don’t really photograph so well.
Of course, it does depend on what you are photographing.
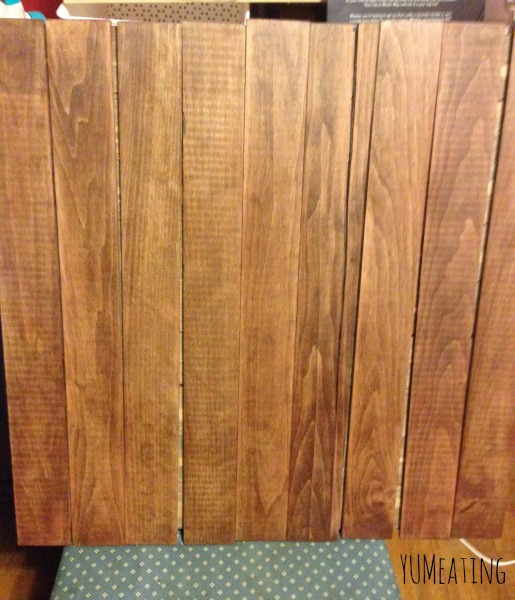
To check out my board in all it’s glory, it can be seen on the Healthy Eating & Step Parenting post.
So how ever did I make this adorable board?
It was actually pretty easy and frugal! Win!
I must thank Lindsay and Taylor over at Love & Olive Oil for their DIY Distressed Wood Photo Backdrop post because this is where I learned just how easy it was for me to make my own!
I don’t have a Lowe’s or Home Depot close, so I opted to shop at Mernards instead since it’s just a few miles away. I found these thin wood boards over with the rest of the lumber.
They did not have the exact size that they used, so I bought the closest thing. And, because the boards were long, I had the husband cut them in half. That is why they bought 12 and I only bought 9. It also gave me a little bit bigger service to work with. It’s still portable and isn’t heavy at all.
One of the boards split when it cut it, but I used it anyway.
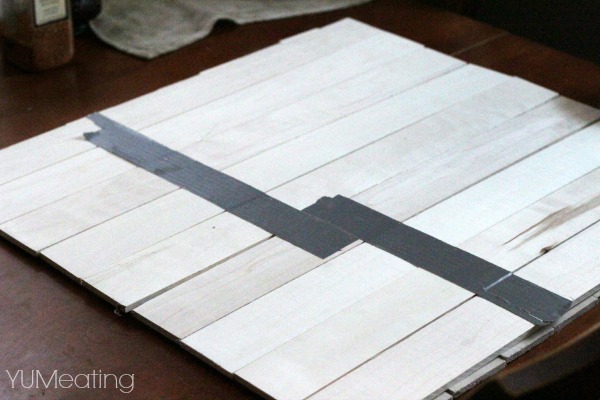
First, I laid the boards out how I wanted them, then I stuck two pieces of duct tape across them and flipped it over.
I then ran some wood glue down the boards and place the other set of boards on top, going the opposite direction.
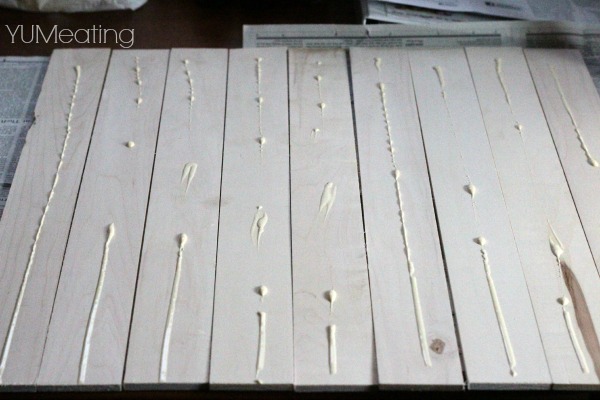
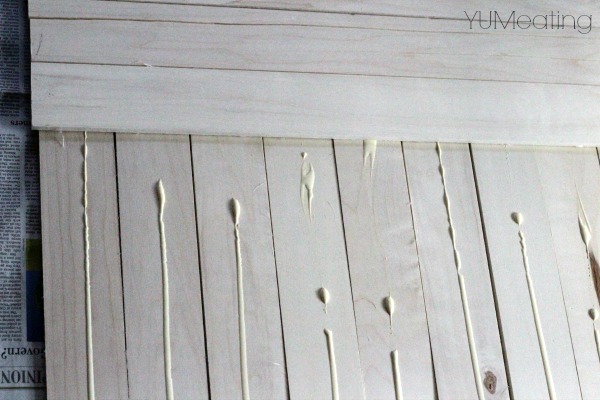
Once I had them in place the way I wanted them, I sat some cast iron pans on top.
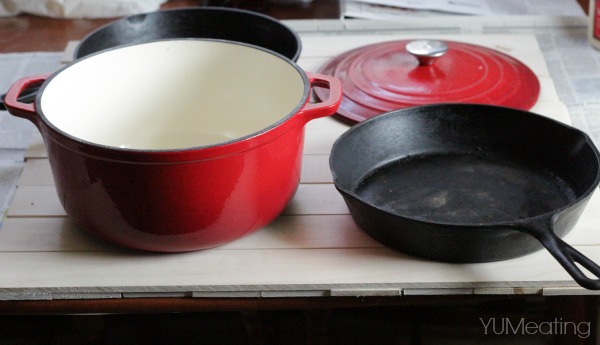
These sat like this for a few days because I wanted to make sure the glue had set completely.
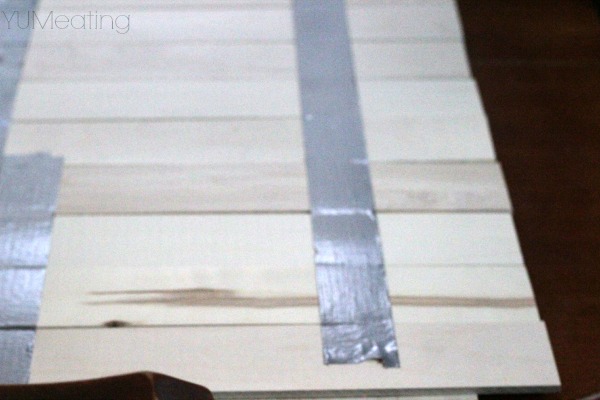
I removed the duct tape.
Sadly, after this point the cold front came back and I couldn’t get outside to stain them.
Finally, I just gave up and had husband take them out to the barn and do the staining for me. I guess it worked out ok. Gave me time to be in the office alone to work and he could be outside with something to do.
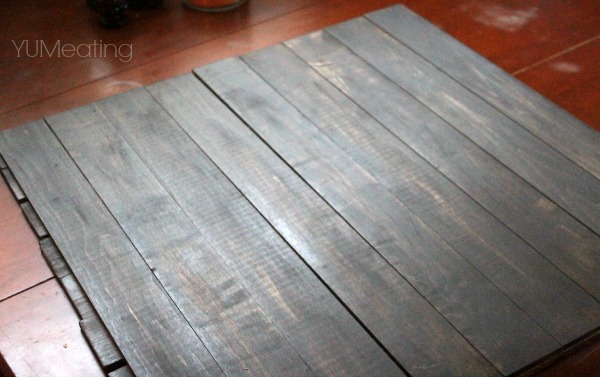
He stained one side with the dark wood stain and let it dry completely.
Once dry, he flipped it over and stained the other side.
Once both sides were complete he stained the first side again.
Let it dry completely.
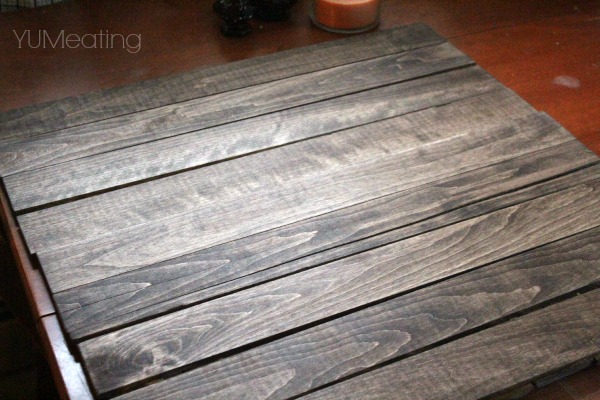
On the second side he used the grey.
Let it dry completely and then he used the fine sandpaper to scratch it up again.
I really liked the way both of them turned out.
I have a couple of pallets I am taking apart to make some other boards out of.
I’d also like to do this method again, only test out a few other colors.
Good part is I already have the glue, sandpaper and 2 stains for other projects. And, there will be other projects!
I think the pallet wood with the dark stain is going to look awesome. The wood is so raw it is going to absorb it differently providing me with a different look and texture.
I’m really pleased with how my food photography board turned out. Well worth every penny.
Menards
Wood Glue -$2.79
9 Aspen Wood Boards (1/4 X 3-4′) – $24.84
3 pk Fine Grain Sandpaper – $3.31
Wood Stain – Dark – $4.38 (walnut)
Wood Stain – Grey – $4.38
Total: $39.70
It turned out to be a really fun and desperately needed project that both of us could work on. Now, I think my photos will look a lot nicer on this than the old light colored cutting board I was using.
What are some of your homemade projects that you’ve made recently? I would love to hear about them.
UPDATE: April 15, 2015
After a year of abuse my photography board needed a makeover. Food spills. Water drips. Oil absorbs. Now that spring is here, I decided it was time to take the board outside and give it new life. So, my wonderful husband sanded it down. Well , not completely. It was still stained with the original stained. He just gave it a once over so the new stain would stick. We covered the old walnut with some cherry. Let me tell you, it turned out amazing!
I still haven’t figured out what to do with the grey side. I haven’t touched it since the original painting.

That looks so great. I want to make one right now! GOOD JOB!
Thank you so much. I can’t wait to make a few more. I want to make a few colored ones like red, and aqua or something.
Super idea! Sometimes the lighting is not right on my table or armoire and it would be great to have something rustic that I can move around!
That is a big reason as to why I made one. Plus, I think food photos just look so much better on them. Not to mention, thats what the big food photo sites tend to look for.
Great tutorial, thanks for sharing!
Thank you! And, thanks for stopping by to read.
Very nice, going to show my husband he’s the crafty one in our house. Pinning too!
Thank you so very much! I had planend on doing this myself, but my husband kept nosing around. Finally when it came right down to it I needed him to stain it in the barn so I could work! Funny how things work out!
Cool idea! how is it holding up with just glue?
Cassandra, I have been using it a few weeks now and have sat very heavy cast iron and porcelain pots on it with no problems! I used Titebond brand wood glue from the hardware store.
Great idea. Glad DH had a hand in helping. It’s great when you can find a project you both can work on.
I can’t wait to try making more!
I really like this! I need to do this!! I know when I take pictures for my blog I run around my house looking for the “right” place. I just need a few backdrops, just like this. Thanks for a great post and great idea!
I really need to make a photo prop board. Thanks for sharing this on Merry Monday.
What a great project! I honestly love it!
Thanks for your sweet comment on my little blog 🙂 I recently started cooking more (since I’m pregnant actually) and I definitely need some inspiration haha:)
xo, Iris
http://www.thecoloredmarriedlife.com
You are very welcome Iris, and I look forward to more posts! Thanks for coming by here and returning the favor. I hope you will stop by again.
Yes. Yes. Yes. Have needed a photobackground for a whie or at least a light box! Thanks so much for linking up to the Merry Monday Link Party! We hope you’ll join us next week! -Treana @ houseofbennetts.com
I use white boards for my ‘box.’ I still need to get some lights thought to help with natural light when its so gloomy up here.