How To Install Window Flower Boxes for Apartment Living
Bringing a bit of nature into an apartment can feel like a small act of rebellion against concrete and glass. For those living high above the street, the absence of a yard doesn’t mean giving up on color, fragrance, or the simple joy of tending to something green. Window flower boxes create an instant connection to the outdoors and offer a charming way to personalize your space.
I remember standing in my small apartment, staring at the bare ledge outside my window. The view lacked warmth and life, and I longed for a slice of garden magic. Installing a flower box felt like the perfect answer. Once I set it up and watched my first blooms take hold, the whole room felt different. The space transformed from ordinary to something that made me smile every day.
Adding window flower boxes can change the way your apartment looks from the outside and how it feels from the inside. It’s a simple way to bring nature into smaller living spaces, especially if you don’t have access to a yard or balcony. But installing them takes a bit of planning, the right materials, and attention to detail.
Many apartment dwellers believe they don’t have the space or permission to garden. But with a few adjustments and the right hardware, adding a flower box is often easier than expected. Whether you’re working with a tight budget or renting a place with restrictions, there is almost always a solution that brings a bit of bloom into your world.
If you crave a way to brighten your apartment and your mood, window flower boxes are a beautiful step toward creating the home environment you truly want. They offer more than just visual appeal—they invite you to slow down, care for something, and reconnect with nature, one bloom at a time.
Start with Placement and Planning
Take a closer look at your apartment’s windows and surrounding exterior walls. The first thing you’ll need to consider is where you’re allowed to install a planter box. If you’re renting, check with your landlord or building management about any restrictions.
Look at your window ledges and frames. Are they deep enough to support weight? Do they have strong trim or wood framing that can anchor screws? Make sure you’re not dealing with crumbling brick, warped wood, or hollow vinyl siding. If you live in an older building, these can impact how stable the installation will be.
Also, think about how much sunlight the area gets. Your choice of flowers and plants will depend on that. Herbs like basil and thyme need full sun, while impatiens do better with partial shade.
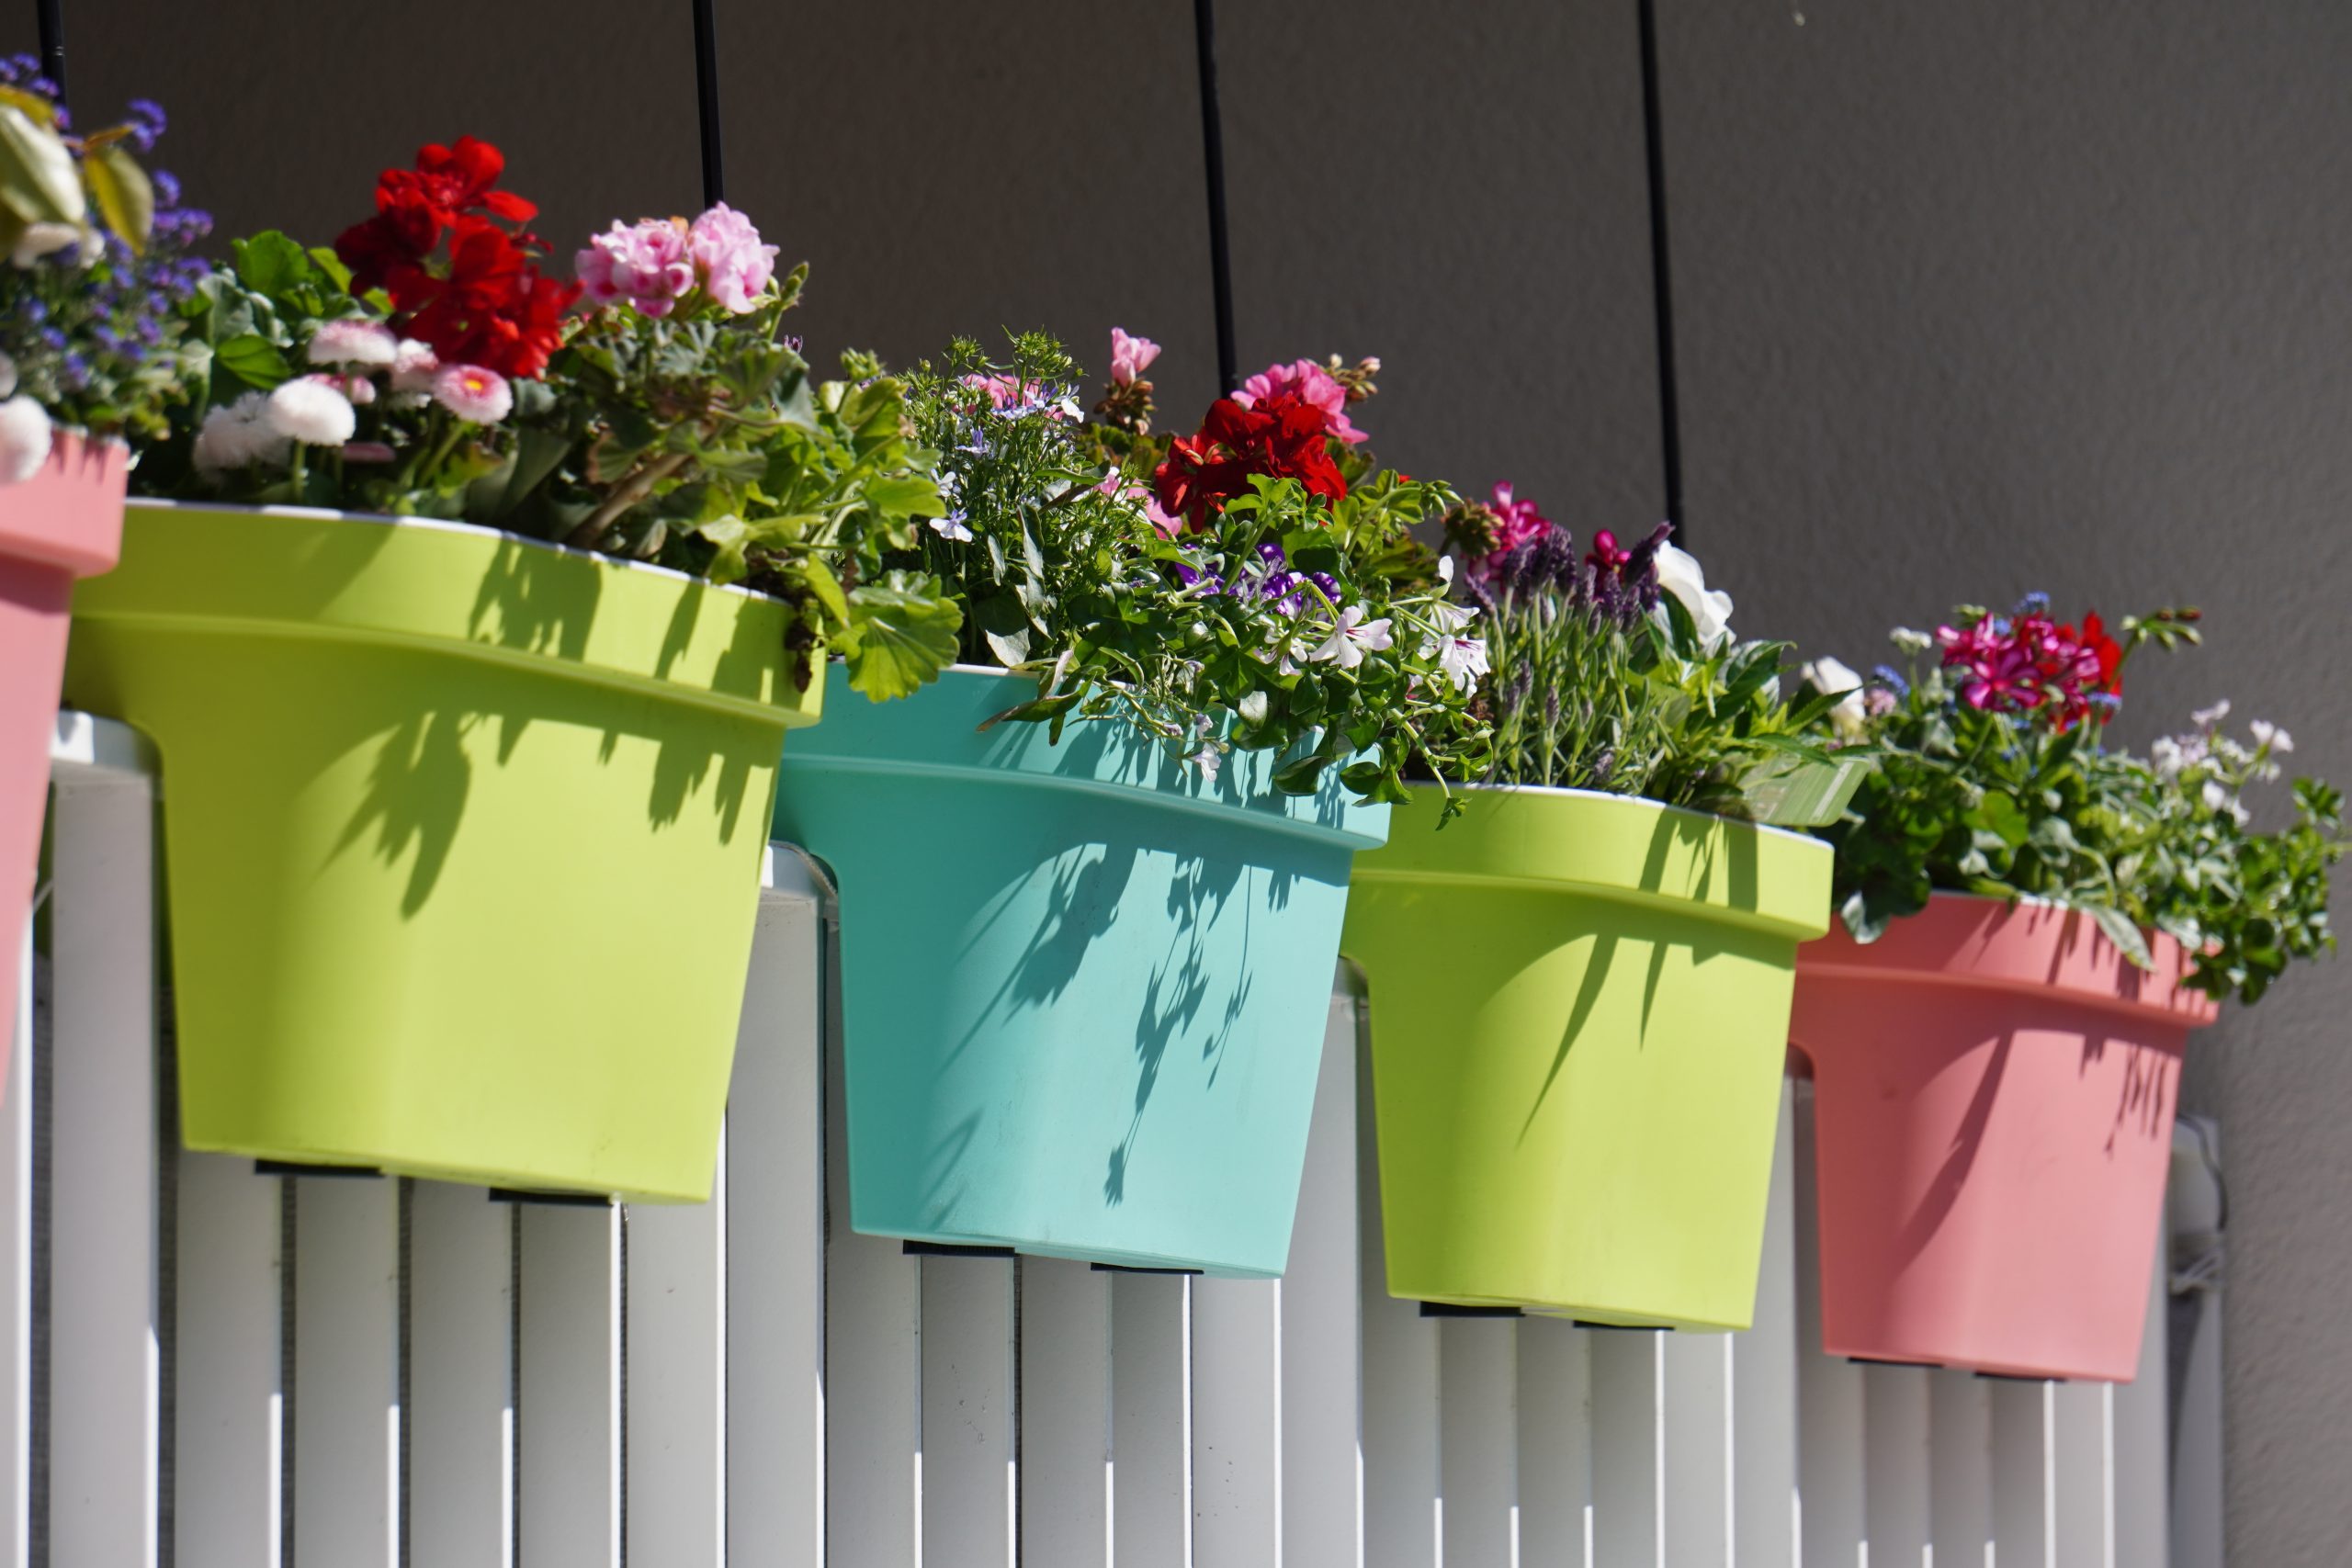
Choosing the Right Window Boxes
You’ll find window boxes made from wood, plastic, fiberglass, and metal. Each material has trade-offs.
A wooden window box can look traditional and works well with classic or rustic apartments. However, wood needs regular maintenance to avoid rotting, especially where there’s water infiltration from rain or watering.
Plastic and fiberglass are low-maintenance, but they might not match every building’s exterior. If you’re dealing with lighter material, make sure it’s thick enough to hold up when filled with soil and plants.
Match the size of the box with your window’s width, but don’t go overboard. A box with plants shouldn’t hang too far past the frame. That can create stress on the mounting points and increase the chance of improper installation.
Also, check if the box already has drilled holes. Proper drainage is non-negotiable. Excess water sitting in the bottom of the box will cause root rot and attract pests. If the box doesn’t come with drainage holes, you’ll need to make them yourself.
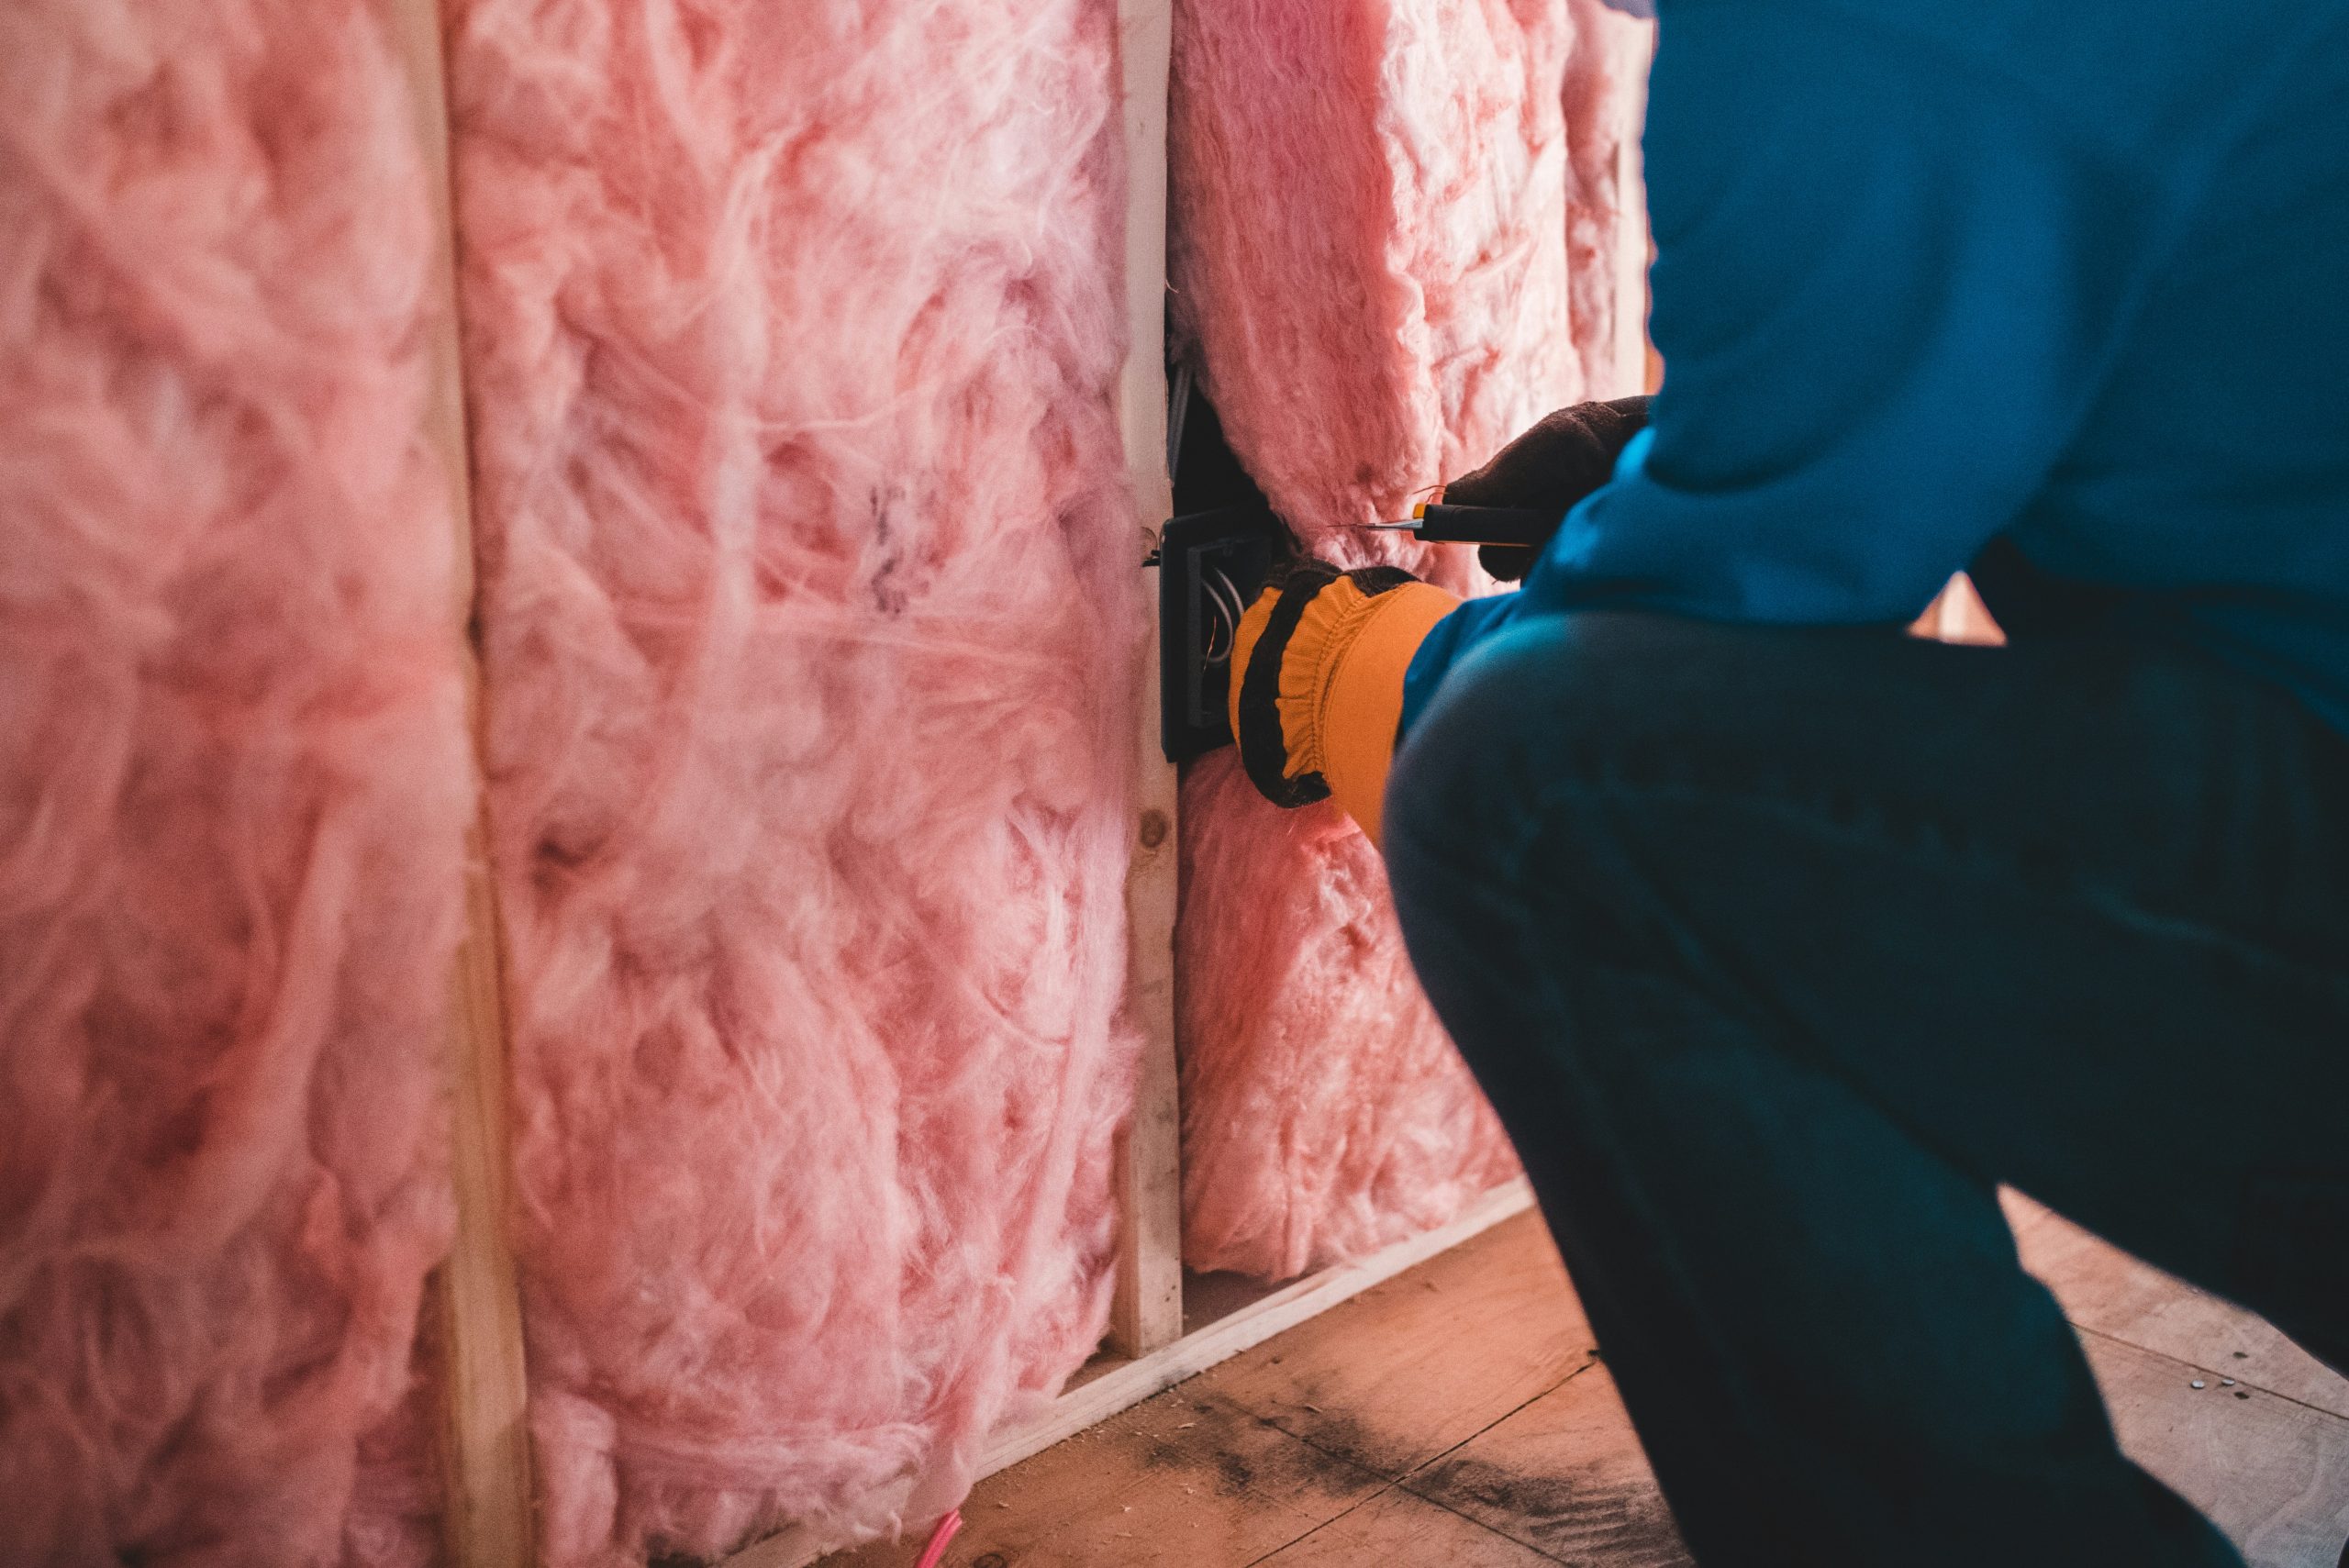
Get Your Tools and Mounting Hardware
Once you’ve selected your box, gather your tools. Here’s a basic list:
- Tape measure
- Level (or bracket level for accuracy)
- Pencil for marking
- Drill and bits (sized for your screws)
- Galvanized decking screws for wood installations
- Masonry screws for brick or concrete
- Metal brackets (if the box doesn’t mount directly)
Use galvanized decking screws on wooden frames to avoid rust. If you’re attaching to brick or stone, a masonry screw works best. Avoid general-purpose screws that can corrode or break under pressure.
For added stability, attach metal brackets underneath the box. They help distribute the weight more evenly and reduce pull on the window frame.
Installation: Step-by-Step
- Measure and Mark: Use a tape measure to find the center of your window. Mark bracket locations evenly on both sides. Double-check with your level to make sure they align horizontally. Uneven placement can lead to stress fractures on the box and damage over time.
- Drill Pilot Holes: If you’re going into wood, drill pilot holes slightly smaller than your screw width. If you’re working with masonry or concrete, use a hammer drill and the correct bit.
- Mount Brackets or Direct Mounting: Secure your brackets first, checking each with the level. If the box mounts directly to the wall or sill, start with one corner, loosely attach the screw, then move to the opposite end to balance before tightening everything.
- Seal Openings: Apply a small bead of exterior-grade sealant where screws meet the surface to prevent water infiltration into the window frame or wall.
- Test Weight Support: Before adding anything, press down on the mounted box. There should be no wiggle or give. If there is, check your screws or bracket support.
Add Soil and Plants Carefully
Use fresh soil that’s lightweight and drains well. Potting mixes designed for container gardening work best. Avoid using garden soil, which compacts and holds too much moisture.
Plan your arrangement before planting. Taller plants go in the back, trailing ones in the front, creating a compact personal sanctuary. Use seasonal plants that match the current climate to keep the box looking good year-round. Marigolds and geraniums work well in summer, while ornamental cabbages or small evergreens do better in colder months.
Leave a little space between the top of the soil and the lip of the box. This gap helps contain water when you irrigate, preventing overflow and soil washout.
Safety and Maintenance Tips
If your window box overhangs public walkways or common areas, safety is a priority. Don’t overload the box with heavy ceramic pots or stones. Stick with plastic inserts or liners to reduce overall weight.
Use duct tape to temporarily hold your bracket or drill guide in place while aligning. It helps when working alone and keeps things steady.
Check the mounting hardware every few months, especially after storms or heavy watering. Look for any signs of rust, warping, or pulling away from the window sill or wall.
Drainage is the other thing to monitor. Make sure drilled holes aren’t blocked. If water pools at the bottom, it can shorten plant life and damage the structure. Keeping your plants healthy starts with the right environment.
Bringing Life to Your Living Space
Adding flower boxes to apartment windows is one of the simplest ways to bring natural charm into a high-rise lifestyle. These small gardens offer more than beauty. They create a connection to nature, enhance mental well-being, and help personalize a space that might otherwise feel generic or temporary. Even a single box of blooming flowers can brighten your home and your day.
Taking the time to select the right box, install it securely, and choose flowers that suit your light and climate helps create something truly yours. It is an intentional act of self-expression. With proper care, these boxes provide continuous joy, whether you’re sipping morning coffee or winding down after a long day.
Let your windows tell your story. A window flower box is not just decoration—it is a living extension of your personality and style. Whether you’re an experienced gardener or just starting out, it’s a small investment with lasting rewards