How to Make a Wire-Wrapped Pendant that Actually Looks Professional
Let’s be honest – ever finished a pendant, stepped back, and thought, why does this look like a weekend experiment instead of something that could sit under the glass counter at Tiffany’s?
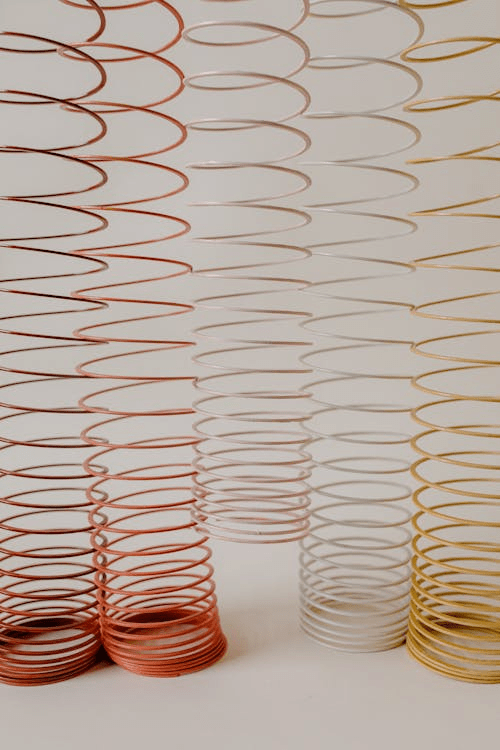
Photo by A.Kwiatek Schwarzkopf on Unsplash
It’s not about taste or talent – it’s about small technical tells that whisper “Amateur” the moment someone touches it.
Uneven tension, visible cut ends, crooked bails, and wobbly frames aren’t just flaws; they’re interruptions in the story the pendant is supposed to tell. Clean linework, repeatable curves, centered stones, and burr-free finishes, on the other hand, give off the quiet confidence of gallery work.
Professional work is subtle. Coils sit flush, edges feel silky to the fingertip, bails align with gravity, and nothing snags cotton. Imagine running your finger along the surface like you’re tracing the worn balustrade of the Louvre staircase – smooth, consistent, timeless. Your mission isn’t to guess, it’s to reduce uncertainty. Decide standards first, then build to those standards.
Here’s the kicker: professionals think in tolerances, not vibes. Planarity within 0.25 mm on a glass plate. Coil pitch variation ≤10% across a segment. Bail hole free of burrs under 10× magnification. Symmetry deviation at outermost points ≤1 mm on a printed centerline. Do a “shirt test” (thin cotton) and a “hair test” (loose strand dragged through the bail) to expose flaws. Step back 1 meter, squint, and check if the pendant still looks centered – or does it tilt like a tower in Pisa?
- Non-negotiables: flush cuts, hidden tails, flat-on-glass planarity, centered stone, symmetrical silhouette, chain-friendly bail, consistent coil density.
- Diagnostics: drag a cotton swab over every end; if it snags, the finish isn’t ready.
- Material choices matter: half-hard for structure, dead-soft for bindings, copper or sterling for predictable shaping, brass for springy frames (source).
- Gauge-to-job fit: 18-20 ga frames for stones 25-35 mm, 16-18 ga for 35-50 mm, bindings 26-28 ga for control; step up a gauge if you expect scarves, daily wear, or the roughness of a New York winter commute.
Takeaway – Quality doesn’t shout, it whispers: no scratch, no snag, no tilt.
Tools that prevent bruised wire and crooked bails (plus a tiny upgrade that changes everything)
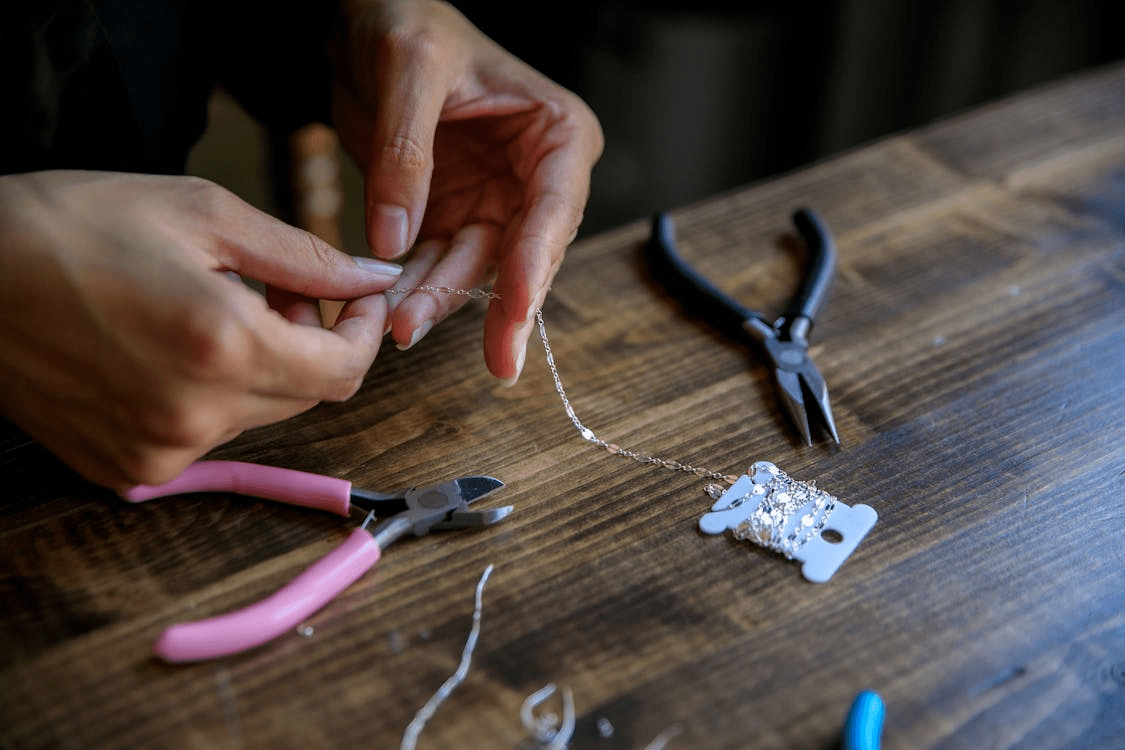
Ever wondered why some makers spend hundreds on tools while others get by with a $15 kit? Because tools either erase your fingerprints – or brand your mistakes into the metal forever. Smooth jaws protect surfaces; parallel jaws apply even pressure; sharp cutters leave ends that vanish after burnishing. Work at a soft bench, wipe wires clean of oil, and suddenly, control feels… cinematic.
Selection cues that matter: plier tips should meet edge-to-edge with zero daylight, springs should return to neutral like a well-balanced piano key, cutters should read flush on one side, relief on the other, and round-nose jaws should taper evenly so loops stay identical. Polish jaw faces with 2000-3000 grit before first use; think of it like breaking in a fountain pen – it changes how the ink flows.
Core kit
- Flush cutters (jewelry-grade, double-bevel): for square, minimal-burr cuts.
- Rotate 10-15°, keep the flush side on the keeper end, cut once. Hardness: Rockwell C56-60. Ever tried nibbling three times? It leaves a scar worse than a red-ink editor from The New Yorker.
- Chain-nose pliers (polished, no serrations): precise pushes, no bite.
- Ideal tip width: 1.5-2.0 mm. Think tweezers at a Swiss watchmaker’s bench – exact, not brutal.
- Parallel-jaw pliers: even grip across flats, correcting planarity.
- Jaw opening should handle 8 mm. Like an architect’s ruler: pressure is distributed, not improvised.
- If you’re working in tight spaces or with small components, Maun has a new range of mini pliers which are exceptionally high quality.
- Round-nose pliers (consistent taper): loops and prongs with predictable diameters.
- Taper range 0.8-6 mm. Mark favorite diameters on the jaws like a chef notching knife handles.
- Nylon-jaw pliers: reshape soft metals without bruises.
- Nylon hardness: 85 Shore D – firm enough to command, soft enough to forgive.
- Cup bur (1.2-2.3 mm) + hand chuck: round cut ends to invisibility.
- Three spins, light pressure. Keep sizes covering 18-28 ga.
- Needle files 400-2000 grit + micro-mesh pads: erase tool chatter.
- Use one direction like an editor’s strike-through. File length: 140 mm for pendants.
- Bench block (steel) + rawhide/nylon mallet: work-harden frames.
- Block: 75×75×20 mm. Mallet: firm taps, six to ten passes, flip between cycles.
- Calipers: measure coil pitch to 0.01 mm. Measure, don’t guess.
- Mandrels: oval, round, teardrop, spanning 2-30 mm diameters.
- Tumbler (0.5-1 L) + stainless shot + soap: uniform sheen in 45-90 min.
- Magnification (10× headset): reveals burrs invisible to naked eye.
Takeaway – Tools leave evidence; make sure yours leave none.
Blueprint before metal: gauges, clearances, and a frame that actually supports the stone
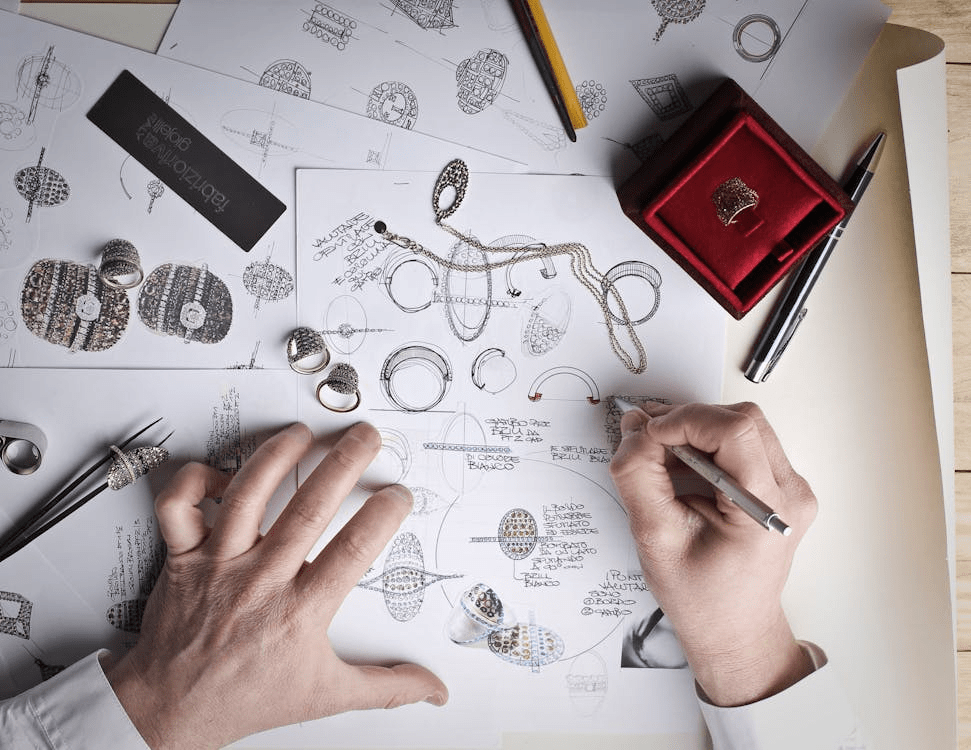
Would you build a house without knowing where the beams sit? Then why bend wire blind around a cab? Sketch a front view, mark the centerline, add a side profile for thickness. Decide: prongs or cage wrap? Leave clearance for bindings and for stone expansion (yes, temperature shifts happen – stones move microns).
Blueprint workflow: place cab on graph paper, trace, mark north/south/east/west, measure thickness with calipers. Note shoulders where prongs will grip. Add 0.5-0.8 mm clearance. For irregular stones, trace a “best-fit oval” so rails fall where the stone gives predictable grip.
Wire map that works
- Core frame: 18-20 ga half-hard.
- Rule: cab thickness ÷ 2.5 ≈ gauge.
- Prongs/side rails: 20-22 ga half-hard.
- Tips shaped to 1-1.5 mm contact pads.
- Bindings/coils: 26-28 ga dead soft.
- Breaking strain: 26 ga ≈ 2.3 kg, 28 ga ≈ 1.6 kg.
- Bail core: twin 20 ga or single 18 ga.
- Weight spreads evenly if both rails carry load.
- Allowance: 0.5-0.8 mm around stone.
- Center of gravity: test on a dowel, mark the balance, align bail here.
Example: 30×22 mm jasper cab: 20 ga frame, four 21 ga prongs, 26 ga bindings, twin-wire bail core. Bind 12-14 wraps per segment for visual rhythm. For cabs over 25 g, step up one gauge or add hidden brace.
Takeaway – Blueprints prevent regret.
Form smooth, mirrored curves without kinks (your future self will thank you)
Think of this as choreography: wire follows your lead if you use the right stage. Pre-curve long arcs on mandrels instead of “air bending.” Tape mirrored parts, bend together, separate later (source). Keep frames flat on a glass tile – planarity test with a razor blade (if it slides under, correct it).
Springback control: overshoot bends by 5-8°. Anneal copper/sterling to dull red, air cool, then re-harden later. Trace one side on cardstock, flip, and shape the second to match – like mirroring a dancer’s movement in a rehearsal mirror.
Any kink is a stress fracture waiting to fail – don’t bury it under coils. Either cut back or restart.
Takeaway – Fixtures give repeatability; fingers don’t.
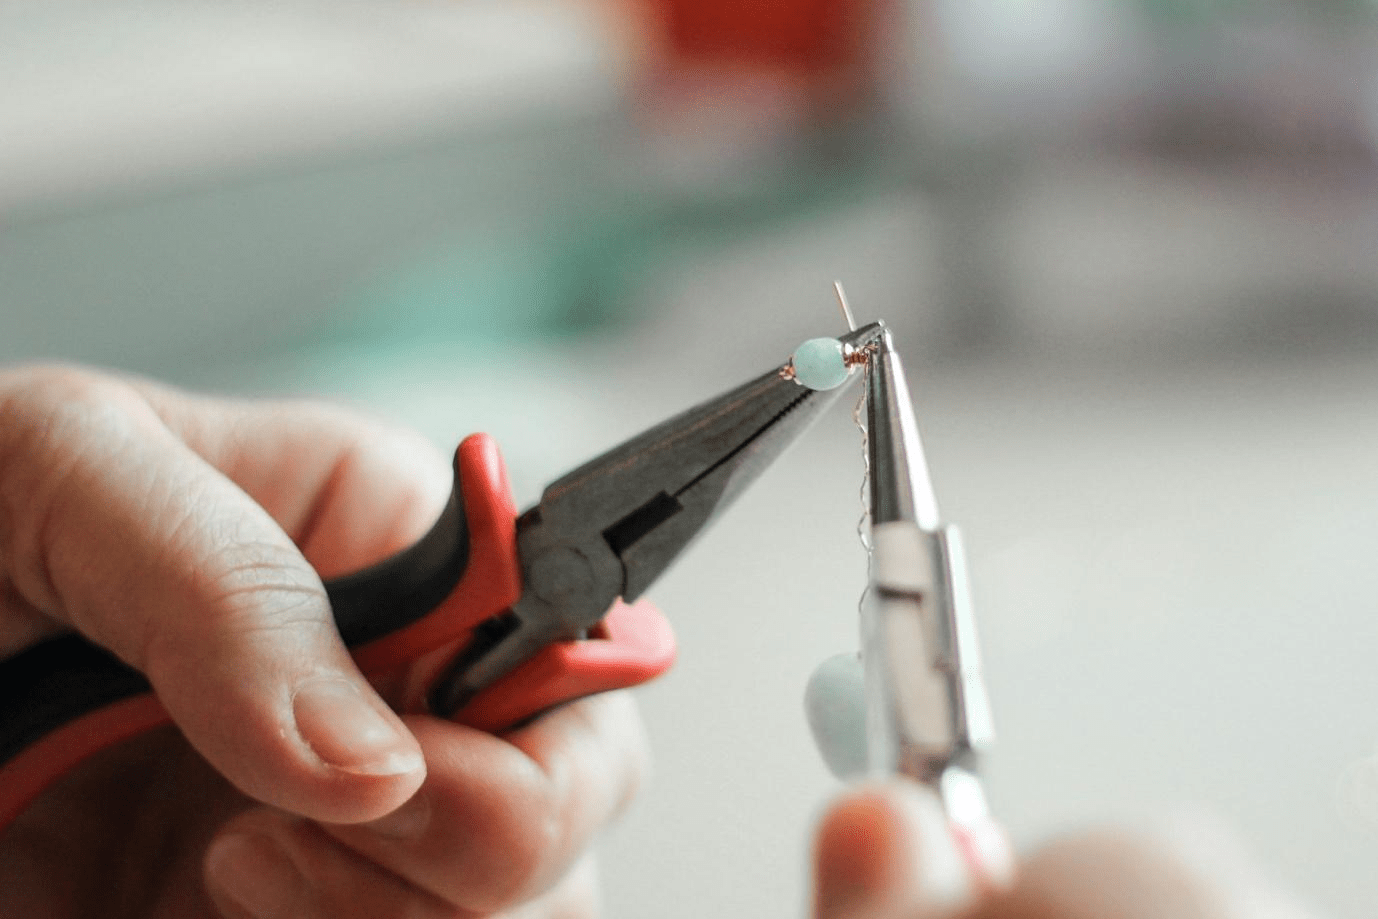
Coil like a machine: tension, angle, and cut-end invisibility
Coils are like typography – either clean and even like Garamond or jittery like a student’s first zine. Angle your binding wire 30-45° across the core. After every three wraps, compress. Cut tails <0.5 mm, burnish.
Start with a locking half-turn or notch the core so the wrap nests. Add drag with a polishing cloth; stabilize elbows to avoid micro-twitches. If a gap appears, rotate past, compress, rotate back.
Numbers that guide the eye
- Pitch: 6-8 wraps per 5 mm.
- Start/stop: hide under bail or crossovers.
- Tail length: <0.5 mm, bur, burnish.
Micro example: Binding two 20 ga rails with 28 ga – 12 wraps, add 2-wire figure-8, finish with two locking wraps.
Takeaway – Coils read as rhythm; rhythm is calming.
Set that survives daily wear: prongs, baskets, and smart contact points
Would you trust a prong set with an opal if you knew it would ride a subway in a winter coat? Four to six prongs, set at 10-15° inward, landing on shoulders. Pre-curve tips so they bite, not skate. For odd shapes, build a basket: two perimeter rails + cross-braces.
Close prongs in 0.3-0.5 mm passes. Alternate sides, recheck, then continue. For fragile stones, widen contact, reduce point loads, or use tab + rail combos.
Example: Freeform beach glass: 20 ga oval perimeter, 22 ga braces, 26 ga bindings, two micro tabs folding over shoulders. Secure, nearly invisible. Pendant should resist 1.5× stone weight in shear.
Takeaway – Security is invisible strength.
Finish like a jeweler: file, burnish, work-harden, then test by touch
Finish is where amateur hours evaporate. Cup-bur every cut, file in one direction, refine to 2000 grit. Work-harden frames with six to ten rawhide taps per side.
Scratch workflow: 400 → 800 → 1200 → 2000. Don’t skip. Tumble copper/sterling for 45-90 min. Close eyes, run cotton across edges – truth hides in touch, not sight.
Liver of Sulphur at 38-43°C, dip for 5-30 s, rinse, neutralize, highlight peaks with 0000 steel wool. Seal with Renaissance Wax.
Control contrast: valleys dark, peaks bright. Porous stones? Mask or skip. Rainbow blotches? Grease – clean and redo. Flat gray? Too long – polish, rewarm, repeat.
Takeaway – Polish isn’t sparkle, it’s silence under the fingertips. Patina is chiaroscuro for metal: light and shadow in conversation.
Quality control that catches issues before customers do
Pull bail with 5-7 N force. Shake by ear – listen for rattle. Cotton snag? Fix. Photograph at 3 ft and macro – camera sees what pride misses.
Checklist:
- Flat on glass, no rocking.
- Bail centered.
- Coils even.
- Prongs equal.
- Ends burr-free.
- Chain slides smooth.
Takeaway – QC is brutal honesty before the world sees the piece.
Photos that sell the feel: light, angle, and proof-of-comfort shots
Light is everything – diffused like a cloudy Paris morning. Angle 30-45° to show relief. Always add scale – coin, fingertip, ruler edge.
Proof-of-comfort shots matter: chain sliding, cotton gliding. Show coils at macro, bail in profile, pendant front-on. Honest backgrounds: matte slate, pale wood, not glitter.
Takeaway – Photos aren’t just images, they’re evidence.
Master Professional Techniques for Stunning Wire-Wrapped Results
Professional wire-wrapping requires quality materials including appropriate gauge wire, proper tools, and carefully selected focal stones or beads that complement rather than overwhelm the wire design. Consistent wire tension and systematic wrapping patterns create clean, symmetrical results that appear intentional rather than accidental. Investment in proper tools like round-nose pliers and wire cutters significantly improves finished appearance and working efficiency.
Design planning prevents common amateur mistakes like disproportionate elements, unbalanced composition, and structural weaknesses that compromise both appearance and durability. Professional pendants follow mathematical principles of proportion while incorporating artistic elements that create visual interest without chaos. Sketching designs before beginning work eliminates costly material waste and structural problems.
Finishing techniques including proper wire ends, consistent spacing, and careful polishing transform adequate wire-wrapping into professional-quality jewelry that wears comfortably and maintains appearance over time. Attention to details like smooth connections and hidden wire ends creates seamless results that look intentionally crafted. These final steps separate amateur attempts from pieces worthy of professional presentation or sale.